Mastering The Knight: A Comprehensive Guide to Abilities, Perk Synergies, and Optimal Builds in Dead by Daylight
Dead by Daylight's The Knight guide reveals expert strategies and perks to dominate with his spectral guards and outsmart Survivors.
As a dedicated Dead by Daylight player since its early chapters, I’ve witnessed the evolution of the game’s roster, and the introduction of The Knight in Chapter 26 marked a significant shift in strategic play. Every three months, a new chapter arrives, typically bringing one new Survivor and Killer. While Survivors share core mechanics, each Killer introduces a unique playstyle defined by their distinct abilities, height, and movement speed. The Knight, the 30th Killer, stands apart as a commander who controls spectral guards to outmaneuver and trap Survivors. His power is intricate and demands practice to master, but once understood, he becomes a formidable force on the map.
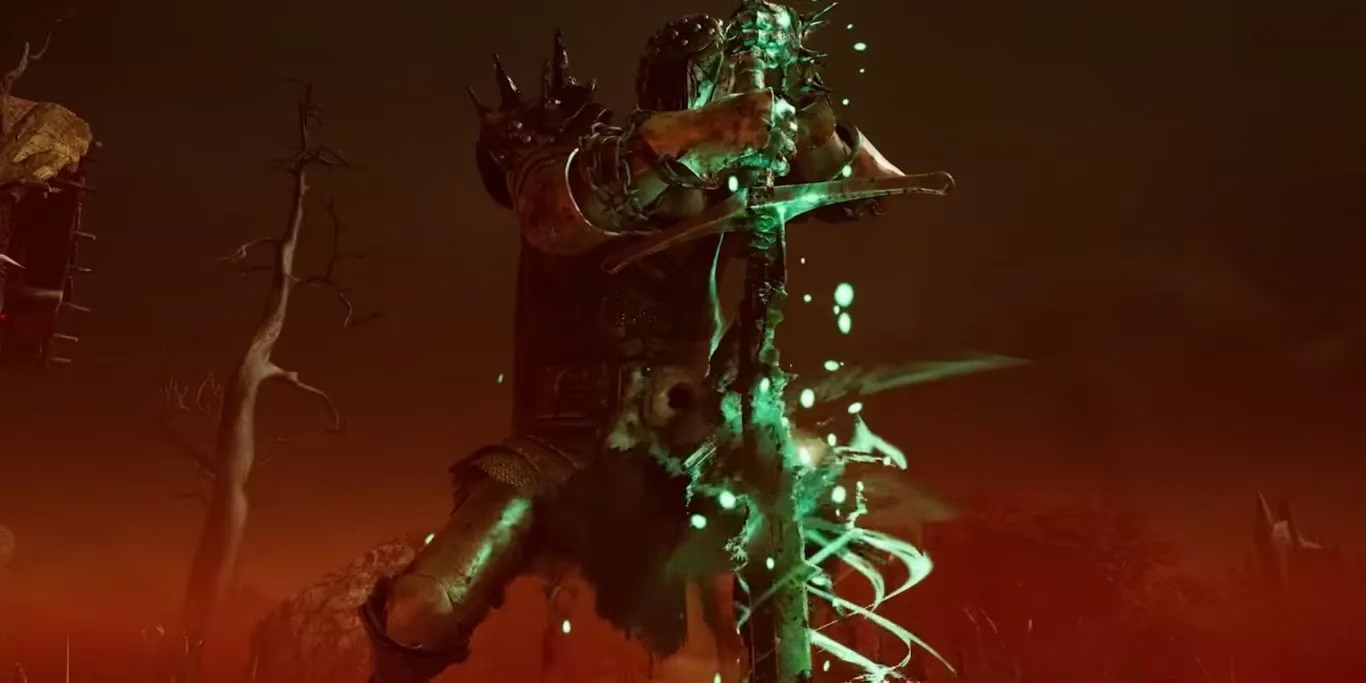
The core of The Knight's gameplay revolves around his three unique guards: The Carnifex, The Assassin, and The Jailer. When my power is ready, I press the Power button to enter a summoning mode, laying down a patrol path. Activating it again spawns a guard to patrol that trail. The spawn order is fixed: Carnifex > Assassin > Jailer. I have no direct control over which guard appears next by default, but I can influence it. Certain yellow add-ons allow me to spawn a specific guard twice consecutively. Alternatively, I can quickly use and dismiss guards until the cycle brings me the one I need for the situation. Each guard serves a distinct purpose. 🛡️ The Carnifex is a powerhouse for destruction, breaking walls, pallets, and generators with alarming speed, though it moves slowly while hunting. 🏃 The Assassin is the hunter, moving swiftly to chase down Survivors and inflicting the Deep Wound status with a hit. 👁️ The Jailer has the largest detection range and the longest patrol duration, making it excellent for area denial, though its active hunt time is the shortest. Understanding when to deploy each guard—using the Carnifex to shatter a safe loop's resources, the Assassin to pressure a healthy Survivor, or the Jailer to lock down a key generator area—is the key to effective play.
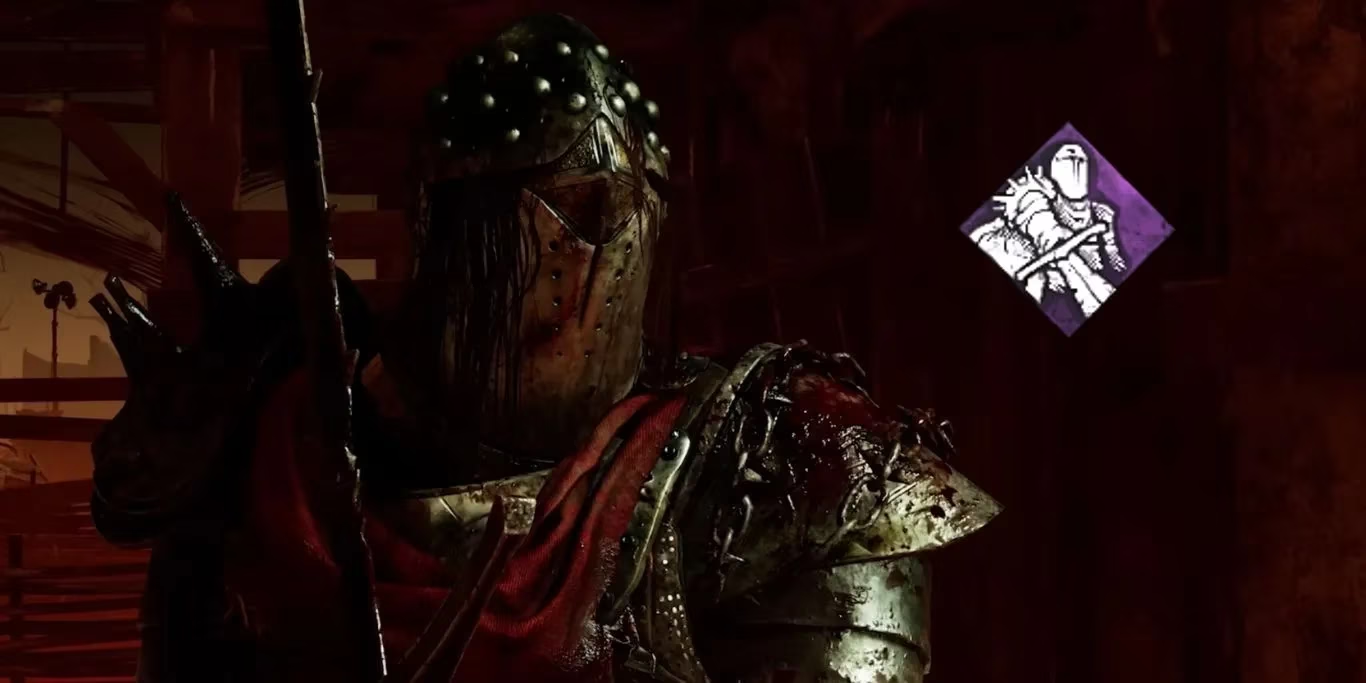
One of The Knight's standout perks is Nowhere To Hide. It’s a phenomenal aura-reading tool. Whenever I kick a generator, it reveals the auras of all Survivors within a 24-meter radius, unless they hide in a locker. This creates immediate pressure and information. To maximize its value, I’ve found several powerful synergies:
| Perk | Synergy with Nowhere To Hide |
|---|---|
| Brutal Strength | Speeds up the generator-kicking animation by 20%, getting me the crucial aura information faster and allowing quicker transitions into chase. |
| Call Of Brine | Combines regression with detection. The kicked generator regresses at 200% speed, and since I’ll be chasing a revealed Survivor, stopping that regression becomes nearly impossible. |
| Darkness Revealed | The perfect counter to locker-hiding. If Nowhere To Hide shows no auras, I can open a locker to check nearby ones. Even if they're empty, I might spot other Survivors across the map. |
| Trail Of Torment | Grants the Undetectable status after kicking a gen, letting me sneak up on the very Survivors I just spotted, often catching them completely off guard. |
| Discordance | Tells me which generator multiple Survivors are on before I go to kick it, ensuring my Nowhere To Hide activation is always targeted and efficient. |
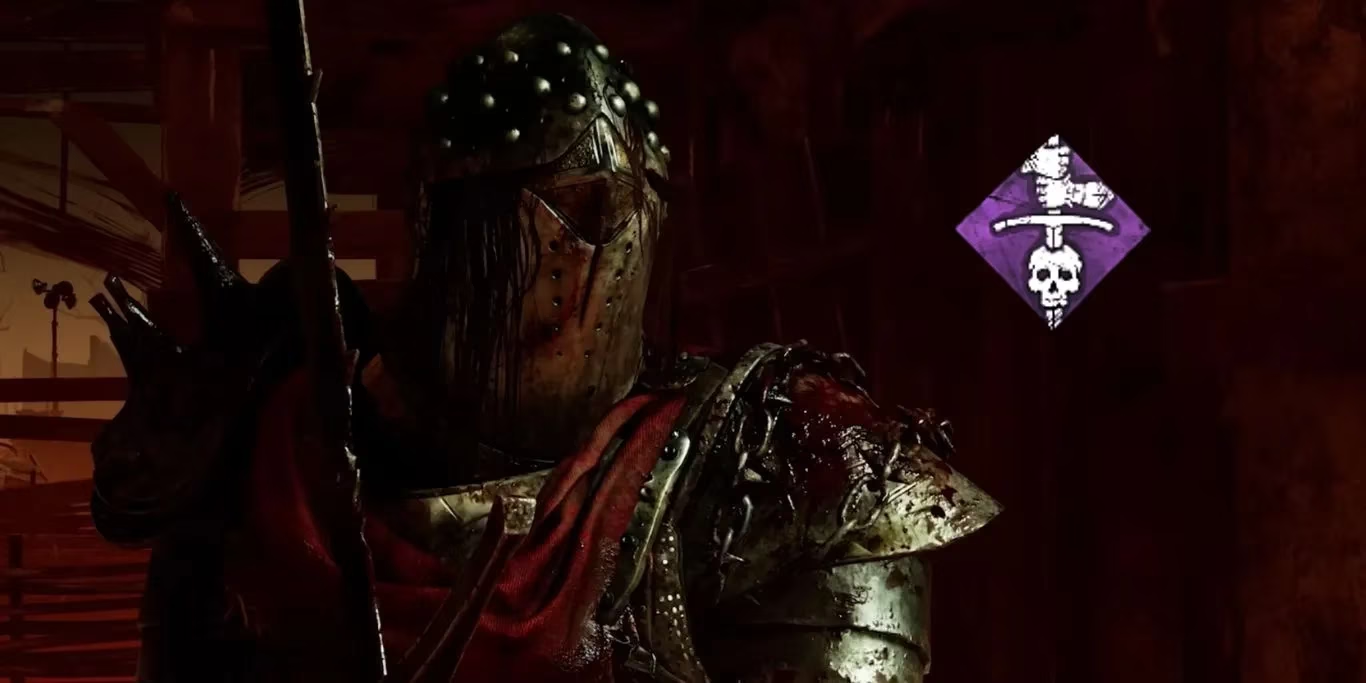
Another intriguing perk in his kit is Hex: Face The Darkness. Its dynamic nature—constantly activating and deactivating—makes it unique among Hex perks. When I injure a Survivor, they become hexed, causing all Survivors outside my terror radius to scream every 25 seconds, revealing their locations. A random dull totem lights up as the anchor for this effect. The perk deactivates if the hexed Survivor is healed, downed, or if the lit totem is cleansed. This volatility opens up creative synergy options. For instance, Hex: Undying acts as crucial insurance, protecting the totem from an unlucky spawn near a Survivor. Dark Devotion can create chaos by transferring my terror radius to the obsession after injuring them, making the screams from Face The Darkness even more disorienting for the team. To keep the pressure on, Sloppy Butcher is almost essential; it drastically slows healing, giving me more time to capitalize on the constant scream reveals before the hexed Survivor recovers.
His third unique perk, Hubris, rewards aggressive play. After being stunned by a Survivor (via pallet, Decisive Strike, etc.), that Survivor becomes Exposed for 20 seconds, meaning they can be downed in one hit. To make this perk work, I need to embrace the stun. Enduring is a perfect partner, reducing stun duration so I can recover and pursue the now-Exposed Survivor much faster, whether I break the pallet or simply vault it to continue the chase. Spirit Fury adds a devastating layer: after breaking two pallets, the next pallet stun automatically destroys the pallet and exposes the Survivor, leaving them utterly vulnerable in a now-broken loop.
After experimenting extensively in 2026’s meta, I’ve settled on a build that perfectly complements The Knight's commander-style pressure. It focuses on generator defense, healing slowdown, and brutal area control.
-
Hex: Blood Favor: This is the centerpiece. When a Survivor is injured—often by one of my guards—all pallets within 32 meters are blocked for 15 seconds. This completely shuts down safe loops in the area, forcing Survivors to either run blindly or stay in a now-dangerous zone. Since my guards can inflict injury without putting me in an attack cooldown, I can immediately capitalize on this lockdown.
-
Sloppy Butcher: A staple for many Killers, it’s especially potent on The Knight. The healing penalty synergizes with his mobility. In summoning mode, I can cover vast distances quickly. If an injured Survivor tries to heal far away, Sloppy Butcher slows them to a crawl, often forcing them to waste precious time or giving me a chance to find them with...
-
A Nurse's Calling: This perk reveals the auras of healing Survivors within a specific range. Combined with Sloppy Butcher’s extended healing times, it turns every attempted heal into a potential beacon, allowing me to intercept and re-injure Survivors or pressure them off generators.
-
Dead Man's Switch: The ultimate generator stall tool for The Knight. When I order a guard to break a generator, any Survivor working on it is forced off. This triggers Dead Man's Switch, blocking that generator for a duration. It creates a powerful cycle of pressure: guard breaks gen > gen is blocked > Survivors are forced to leave > I or my guards can patrol the area.
Playing The Knight effectively is about map awareness and predictive guard placement. I don't just use guards to chase; I use them to cut off escape routes, patrol key generators, and force Survivors into my path. The summoning speed in 2026 feels responsive, allowing for quick tactical decisions. A common strategy is to summon a guard at a loop just as a Survivor reaches it. The guard patrols the loop, denying the safe vault or pallet, while I cut off the other side, creating an inescapable pincer movement. His power turns the trial into a game of territory control, where I am constantly herding Survivors into zones my guards have already secured. While he has a steep learning curve, mastering the synergy between his guards and a well-constructed perk build makes The Knight one of the most tactically rewarding and dominant Killers in the current Dead by Daylight landscape.